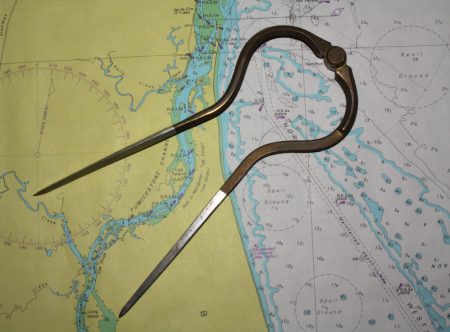
In our years of gunkholing, we’ve found many small, out-of-the-way coves in which to spend a few quiet days at anchor. It’s a part of the boating life that we truly cherish. The problem most often encountered in these locations is that the NOAA navigation charts rarely list any detail about them.
If it’s a spot that I’m unable to visit often, I tend to forget a few details between stays. Consequently, I’ve made it a habit to keep a notebook of my homemade charts on board. Then, as needed, I can quickly refer to my personal charts for entry, or the best place to anchor, and why.
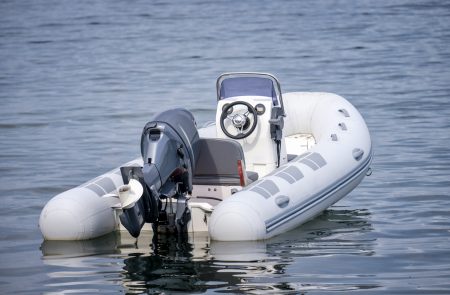
You, too, can make charts of your favorite locations when none exist, and you can do so quite easily. You may even find yourself enjoying this kind of entertainment while lounging in the area. You most likely already have the items needed to do this on your boat: These include a dinghy, a hand-bearing compass, a 360-degree protractor, a pencil and paper.

Dinghy
Start by taking compass bearings from the cockpit of your boat. These will be made to the more prominent landmarks in the immediate area around the boat. Once you have these bearings, put a dot or a central mark of some kind and mark it with an A in the middle of a piece of paper.
Place the center of the protractor over this central dot. At the protractor’s edge, make additional marks for the compass bearings you found, and run lines from the central point out and over each compass bearing mark, even out to the edge of your paper. Label each line with its appropriate compass bearing and name, such as rock, sandbar, etc.

360 degree protractor
With this part done, go ashore to one of your chosen locations. From this location take compass bearings to all of the other points you’ve selected. On your growing chart drawing, this will be labeled as location B. You can do this from as many of your locations as you choose, marking each with consecutive letters: C, D, E, etc.
Back on the boat and using your protractor over position B, add these new lines to your new chart. When these lines are drawn, the magic starts to unfold. Freehand the surrounding shoreline onto your drawing, and use the label names of the items you’ve selected — rock, sandbar, etc. — using the intersecting points from the positions you used: A and B.
After erasing your compass bearing lines you can add the final details to your chart. You may consider using a leadline (or a heavy nut or bolt tied to a piece of line) to measure the water depth at low tide, if tides are a condition in your area, noting the depths on your chart. With this done, the next time you’re in the area you’ll have a nice chart handy for reference.


